

While sewing isn't my favorite thing to do,with all the jamming thread, broken needles, skipped stitches and all, I must admit it can be very fulfilling.
Today's project was my introduction into sewing. The first thing I ever sewed was a pillow cover which opened the flood gates of many many pillows which I eventually started selling. Anyone who knew me 5 years ago knows how my car trunk and back seat were forever filled with throw pillows for sale.
I'm actually a self taught sewer. I used the manual from my mum's sewing machine (a wedding present to her that was collecting dust somewhere in the village) and learnt how to thread the machine and started sewing straight lines.Pillow covers were the straightest things I could think of to sew and that is how it all began.
What you would need;
- Fabric of your choice for the pillow cover and some cheaper plain fabric for the pillow
- Coordinating color of thread
- Fiber fill ( I got mine at Kugbo furniture market in Abuja for 700 naira per kilo)
- Sewing machine
- Scissors

I wanted lumbar pillows to match a set of lounge chairs I had just redone. Lumbar pillows are more rectangular than square. I wanted the pillows to measure 18" by 10", so I cut my pillow cover fabric (pink) to measure 20" by 26". The pillow fabric measured 20" by 22".
Let me try to explain this; The breadth of the pillow would be 18" and length 10". When folding the pillow into an envelope, I wouldn't be tampering so much with the breadth so all I added to that measurement is a 2" seam allowance. Now, for the length of the pillow, since I would be folding the envelope along that side to give me the front and back of the pillow, I doubled the measurement (10x2=20) and then added an extra 4 inches for the envelope overlap then again, a 2"seam allowance, making a total of 26". You can use this 'formula' to adjust measurements for the size of pillow you want (length of pillow x 2+6). Okay this is all easier than all this long mathematics and grammar. You would have a better understanding as we go on.
Let me try to explain this; The breadth of the pillow would be 18" and length 10". When folding the pillow into an envelope, I wouldn't be tampering so much with the breadth so all I added to that measurement is a 2" seam allowance. Now, for the length of the pillow, since I would be folding the envelope along that side to give me the front and back of the pillow, I doubled the measurement (10x2=20) and then added an extra 4 inches for the envelope overlap then again, a 2"seam allowance, making a total of 26". You can use this 'formula' to adjust measurements for the size of pillow you want (length of pillow x 2+6). Okay this is all easier than all this long mathematics and grammar. You would have a better understanding as we go on.

Next,I ironed my fabric...a step I should have done before cutting ( you would see why in a bit) but I loathe ironing. Sigh.

I sewed 1/4 inch hems on the shorter sides of the fabric. My sewing machine has lines that tell you how much hem you are sewing. But usually, a 1/4 inch hem should be on the same line as the right edge of your presser foot.

All done! Now you see why I hate ironing? The fabric is all rumpled again. Arrgh

I wish I had better pictures to explain this next step. I folded the fabric as shown above with the top fold over lapping the bottom fold by about 4" and then I ironed the folds in place, that way I could avoid using pins (I hate pins even more than irons. Some crafter I am huh?)
 |
| You see how my edges don't exactly line up? This is the reason why the experts say you should iron your fabric before cutting. |


Making the Pillow


Fold the fabric along the longer side into two and sew around it starting at one of the shorter edges so you can sew round in one swoop. As I approached the middle of the long edge I raised the presser foot and pulled the fabric away from me, leaving a gap wide enough for my hand to fit into and then placed back the presser foot and continued sewing. You can leave your gap on any edge you want.

 |
| Fiber fill |

Turn it out, stuff with fiber, sew the gap shut and put on your pillow cover and c'est finis.

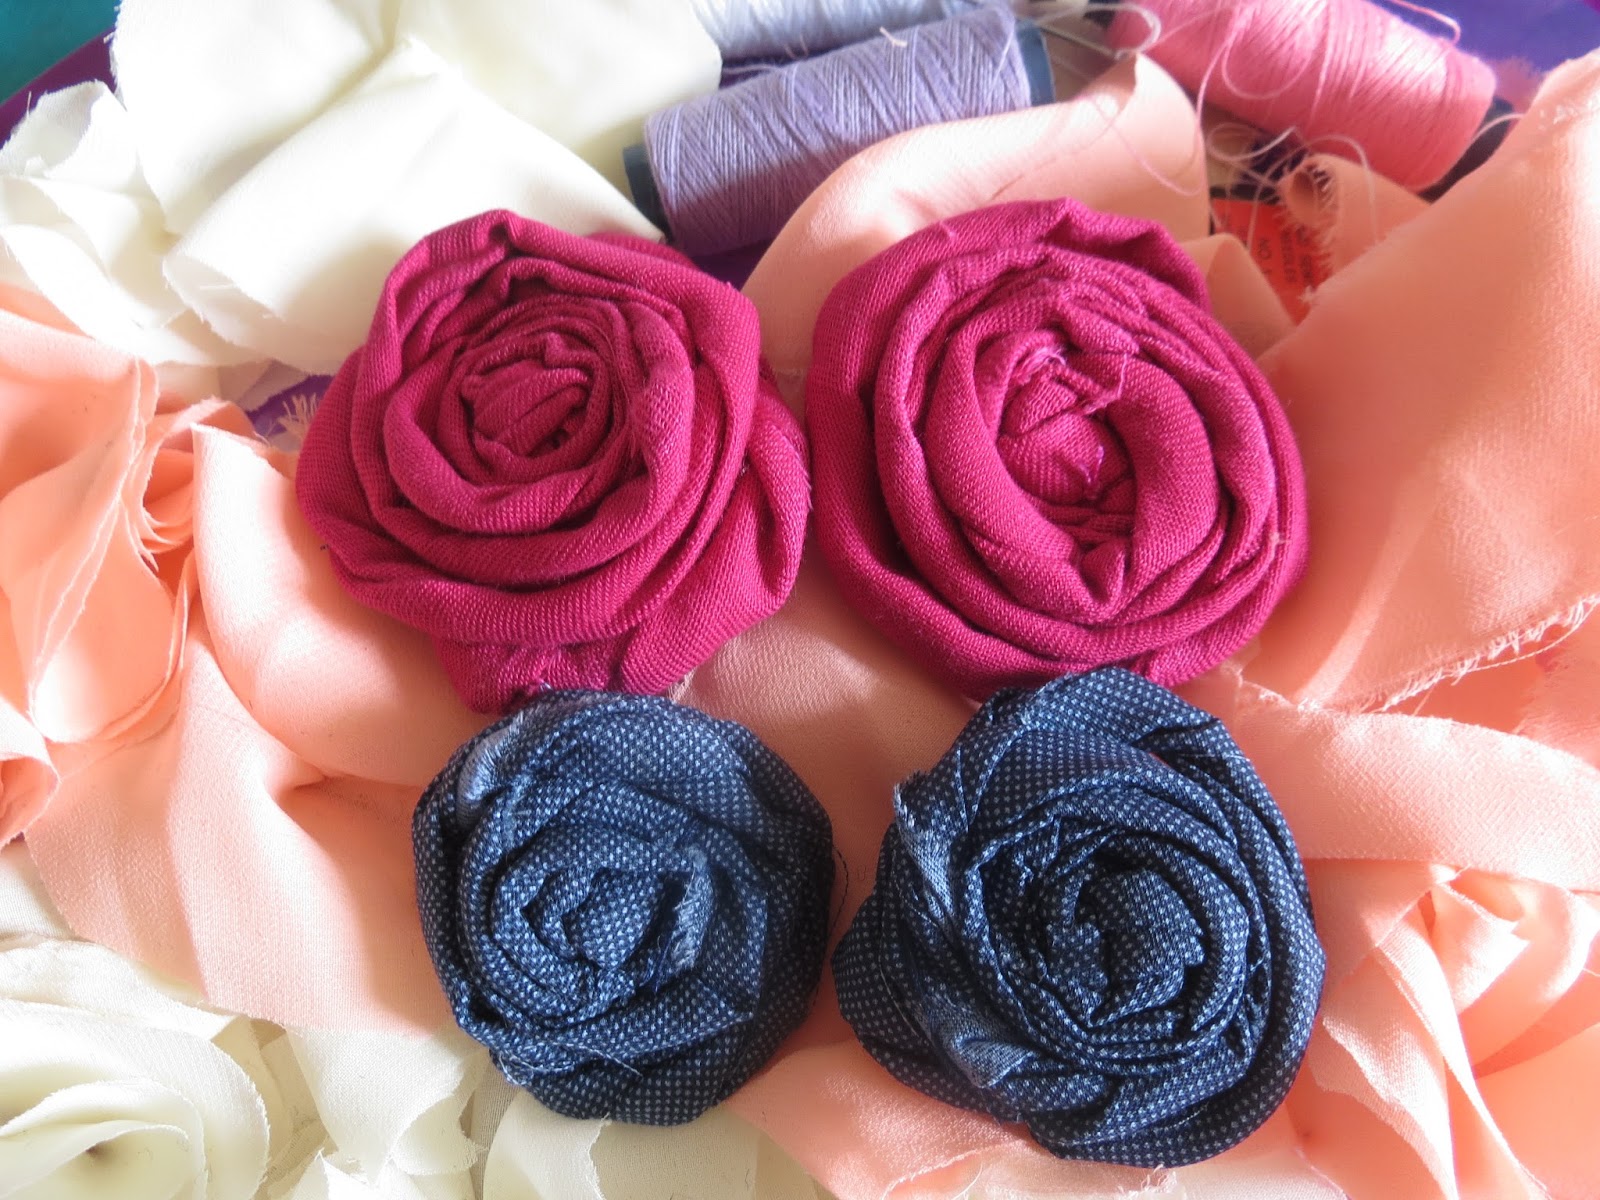
My pillows looked so plain, so I made a couple of rolled fabric flowers and attached them on.
t
 |
| Better! |

Now the chair doesn't look so lonely anymore :) Would you try this out? Let me know if you do. Send me pictures on hazelandcinnamon@gmail.com.
Thanks for stopping by.x


Hi Imo, nice one. You make it seem so simple.the chair looks comfty& beau. I would need to get a design sewing machine I guess?
ReplyDeleteTHANKYOU!! Yes you would need to get one, it's worth it
DeleteOff to make my own pillowcase........can't make the pillow cos am stuck in this town where I can find nothing "boohoohooo"
ReplyDeleteHika I would love to see what you make. If you ask furniture makers over there, I'm sure they would direct you to where you can get the fiber fill.x
Delete